That frustrating moment when your favorite jacket won’t zip, your backpack slider pulls off the track, or your jeans keep splitting open is all too familiar. The good news? Most zipper problems don’t require professional help or a complete replacement. With the right diagnosis and a few simple techniques, you can fix a broken zipper yourself—often in minutes and sometimes without any tools at all.
Whether you’re dealing with a zipper that came off one side, a slider that won’t stay closed, or a stuck zipper refusing to budge, this complete guide walks you through every common zipper failure. You’ll learn how to identify what’s wrong, make precise repairs for jackets, bags, pants, and backpacks, and know exactly when it’s time to replace rather than repair.
Quick Diagnosis (60-Second Flow)
Splits open after zipping → slider is worn/loose. Pinch slightly or replace slider (matched slider options).
Came off one side → missing/loose top stop. Re-thread slider and install a new stop (see Zipper Anatomy for parts).
Off both sides → reinstall slider from the top, seat first teeth, then add a top stop (review Guide to Teeth, Sliders & Parts).
Stuck and won’t move → fabric caught or debris/corrosion. Free fabric, clean, then lubricate (graphite/wax). For marine gear, see Preventing Corrosion.
Bottom separates on jackets → retainer box/insertion pin damage. Replace bottom hardware or the zipper (see Zipper Types Explained).
Missing/bent teeth → metal can sometimes be carefully re-bent; plastic/coil with missing teeth requires full replacement (use Continuous Zippers to cut exact lengths).
Pull/tab broke → temporary ring/cord pull or replace the slider (top heavy-duty slider picks).
Tools & Parts (and No-Tools Options)
Essentials: needle-nose pliers, side cutters, small flat screwdriver/awl, seam ripper, ruler/caliper, soft brush, mild soap + water, graphite pencil or zipper wax.
For coil: a lighter for brief, indirect heat to seal trimmed ends (avoid scorching; ventilate).
Parts: matched replacement sliders, top/bottom stops, jacket retainer boxes/insertion pins, or continuous chain by the yard for full replacements
.
No-tools hacks: keyring/paperclip as a pull; the fork method to re-thread a slider in the field (see below).
Need matched components? See Custom Zippers and Request a Quote for sliders, stops, and chain with low minimums.
How to Identify Zipper Type & Size (Vital)
Chain types:
- Coil (nylon spiral): lightweight jackets, bags, tents. (Compare Coil vs. Molded)
- Molded tooth (individual plastic teeth): heavier garments/backpacks.
- Metal (brass/nickel teeth): jeans, work jackets, vintage. (Also see Metal vs. Plastic)
Size/gauge: width of closed teeth in mm; look for #3/#5/#8/#10 stamped on the slider back. If missing, measure. Use the Gauge & Chain Size Chart.
Match exactly: type + size must both match. Coil sliders won’t run molded or metal, and a #5 won’t seat a #8.
Unsure? Snap a close-up of the teeth + slider back and send it with your quote request (Contact or Request a Quote).
Repairs by Problem (Mini How-Tos)
Split Zipper (Closes, Then Opens)
Time: 5–10 min | Difficulty: Easy | Tools: Pliers, replacement slider (optional), top stop
Gently remove the top stop. Slide the old slider off.
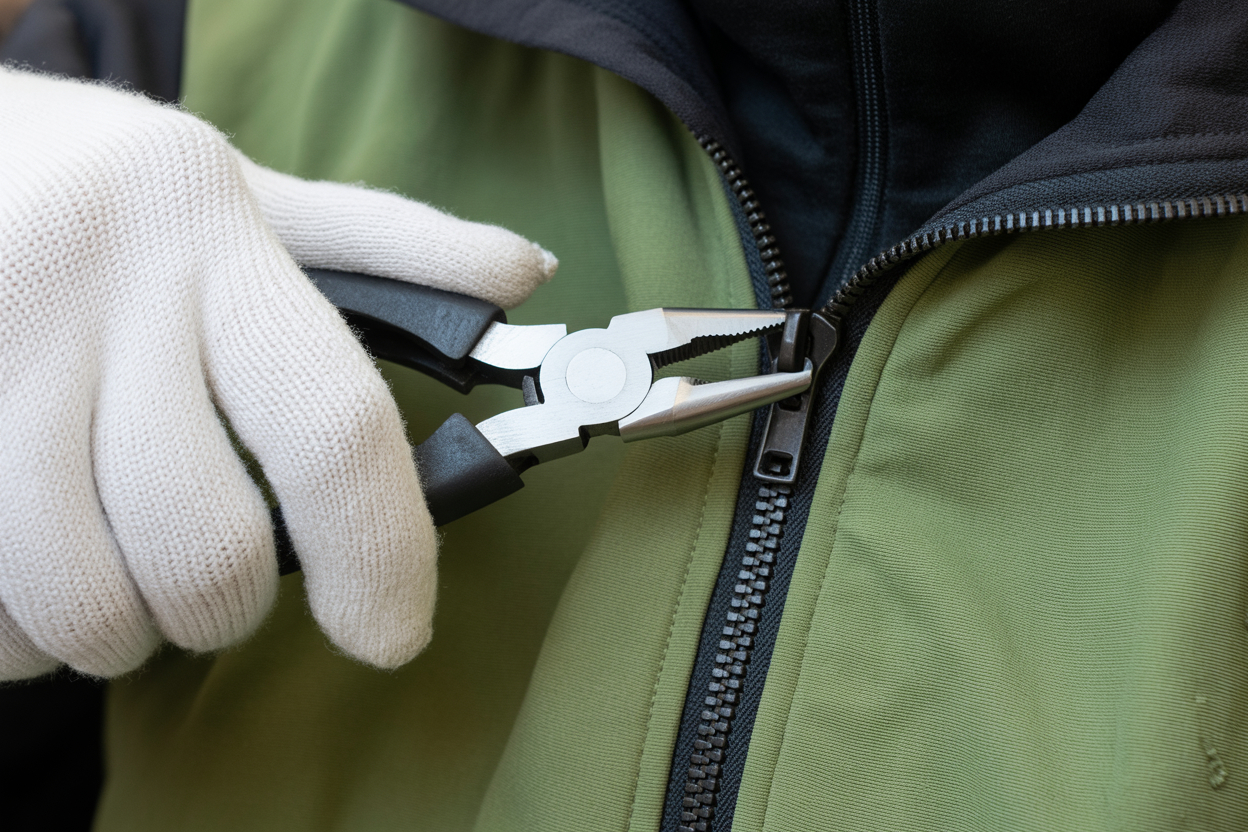
- Quick fix: lightly pinch the slider side plates (especially at the exit end). Test after each tiny squeeze.
- If still failing, replace the slider with a matched type/size (Sliders). Thread on evenly; crimp a new top stop.
- Don’t do this: avoid petroleum oils (stain risk). Don’t over-crimp (cracks).
Success check: multiple zips with no gaps behind the slider; smooth pull.
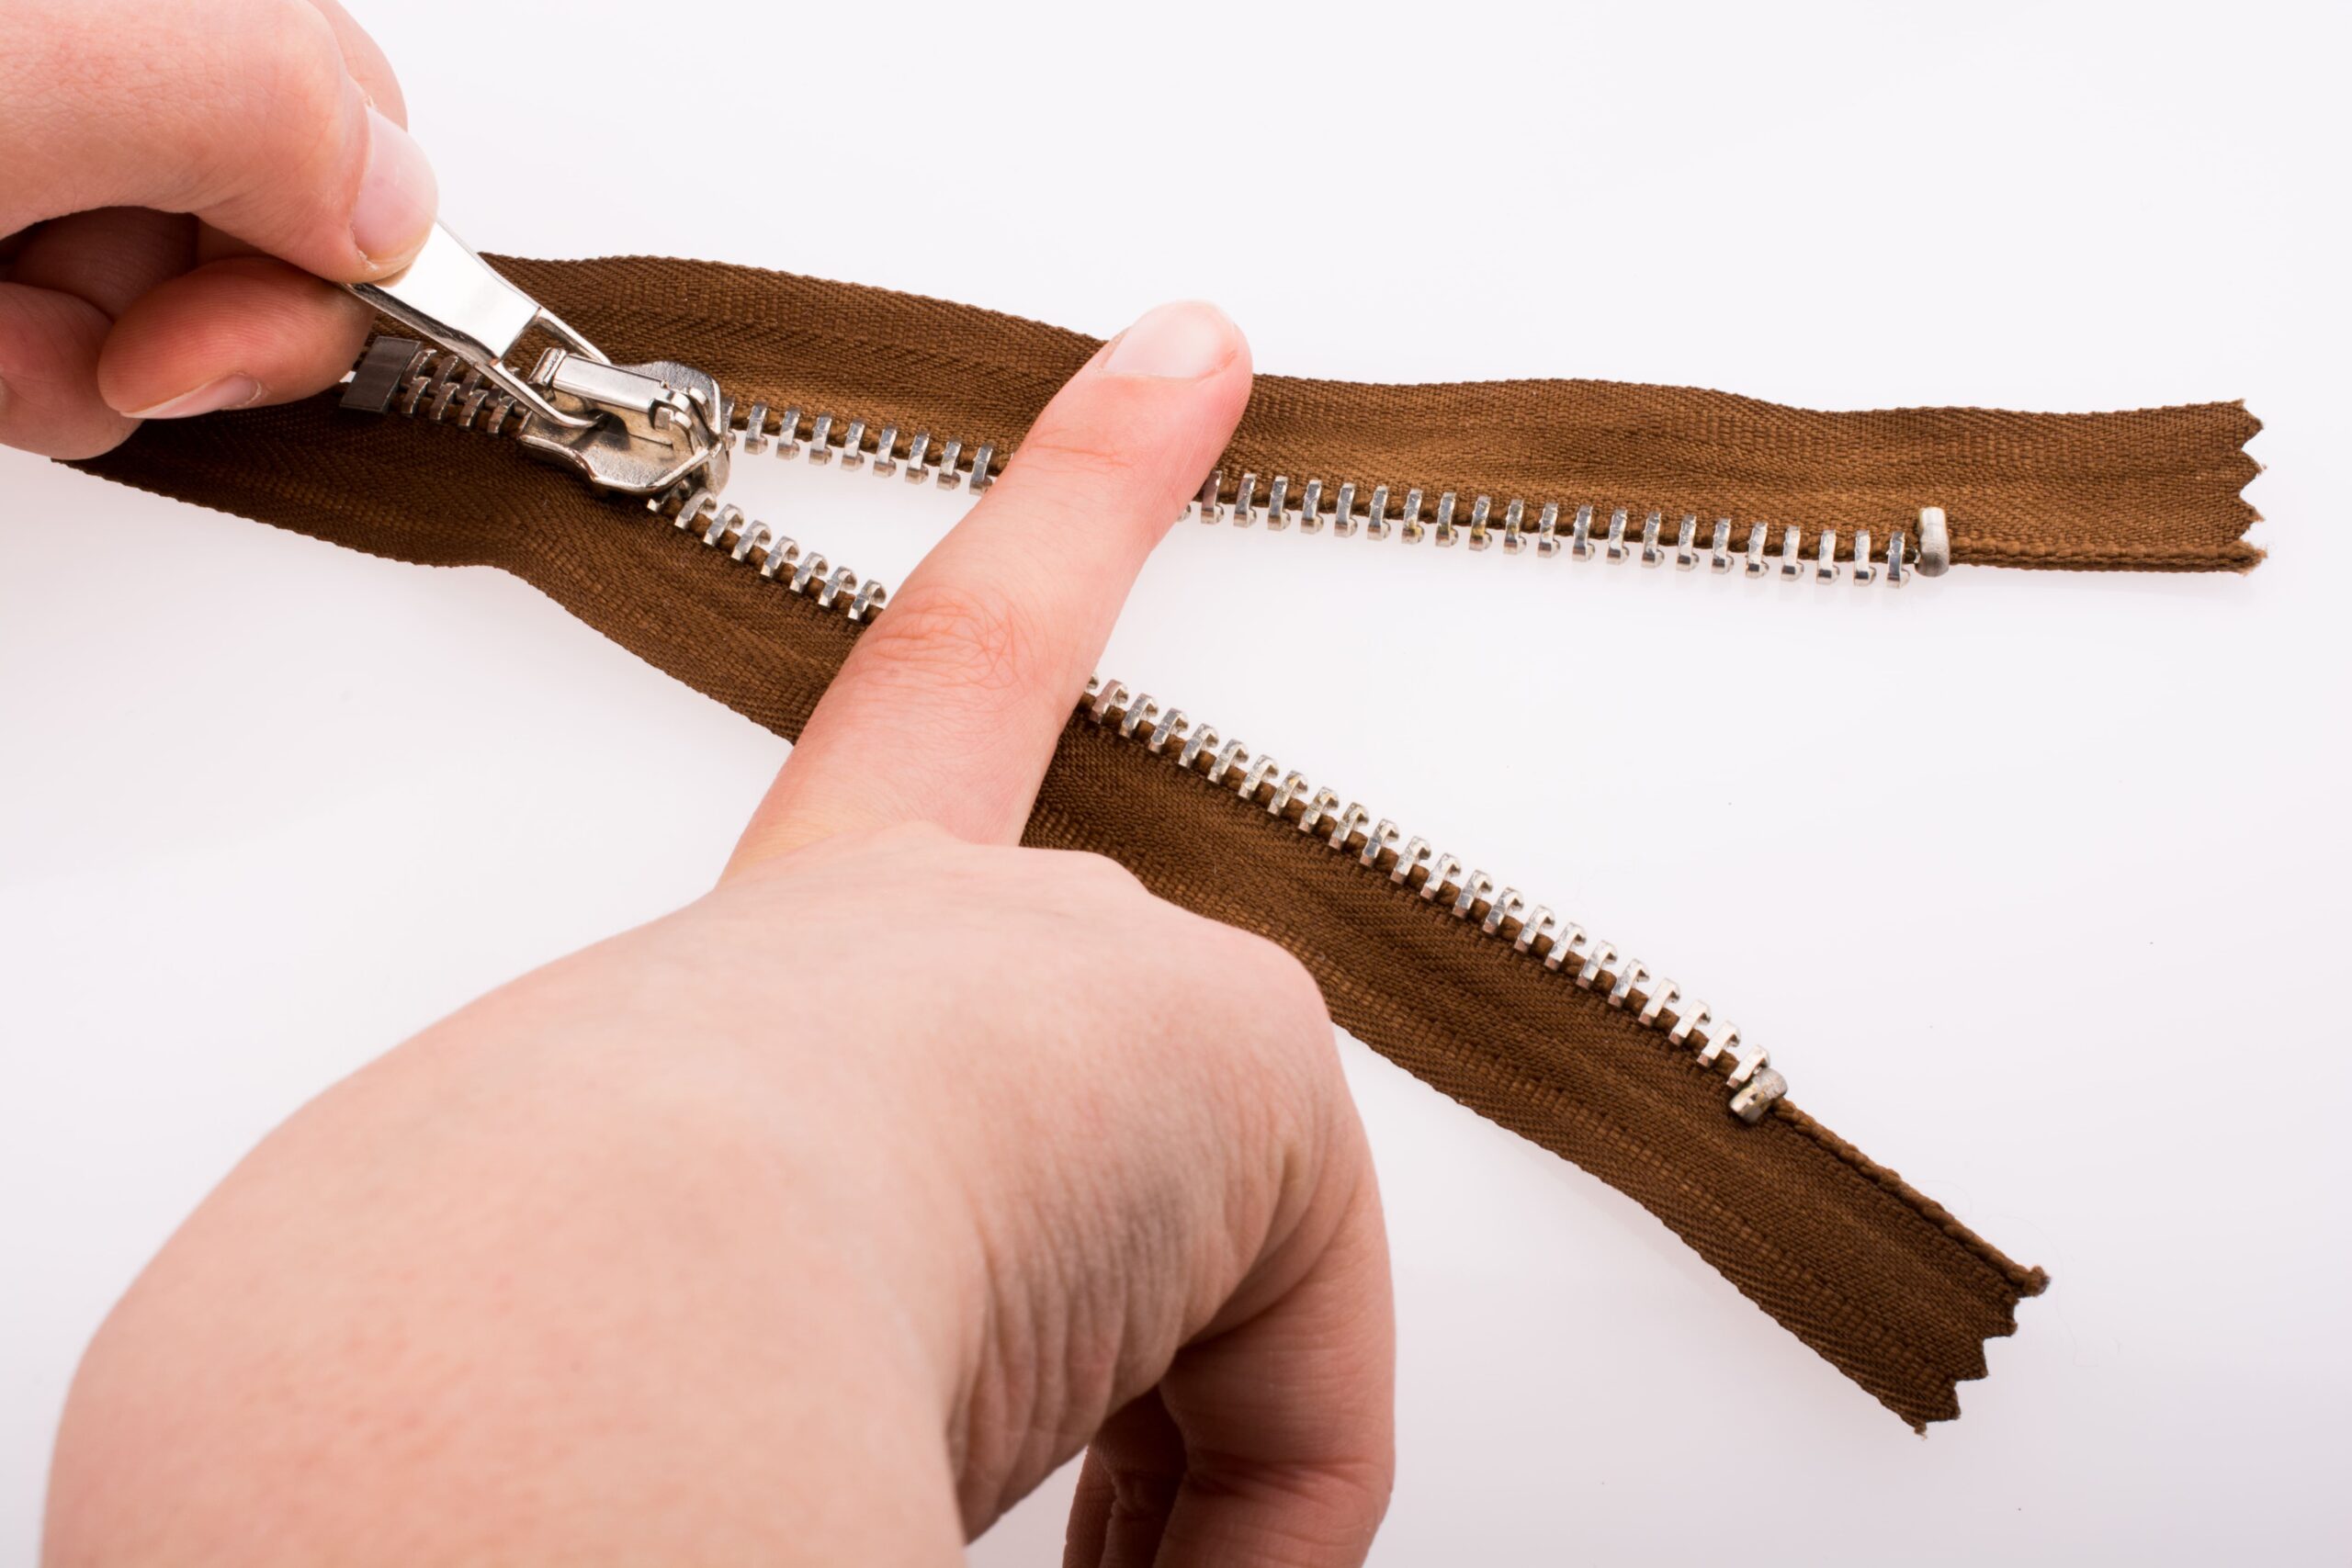
Came Off One Side / Off Track
Time: 10–15 min | Difficulty: Easy–Moderate | Tools: Pliers, new top stop
One side out: remove the remaining top stop, align tapes, feed loose tape into the empty slider channel at a slight angle, zip 1–2 cm, then crimp the new top stop.
Both sides out: expose the end, orient the slider (rounded = top), feed both tapes together so first teeth seat, then add a top stop.
Don’t: force the slider mid-chain or skip the stop.
Success: smooth travel, even interlocking from bottom to top. (Brush up on Zipper Anatomy.)
Stuck Zipper (Fabric, Debris, Corrosion)
Time: 5–20 min | Difficulty: Easy | Tools: Awl, mild soap, graphite/wax
If fabric is caught, back the slider out slowly while freeing fibers with an awl.
- Clean: brush debris; wash teeth with mild soap + water; rinse/dry fully (light brush for rust on metal).
- Lube: prefer graphite or zipper wax. Soap/chapstick only in a pinch (they attract dust → clean and re-lube later).
- Don’t: use petroleum oils on textiles; avoid abrasive cleaners.
Success: easy two-way glide; no catching. (For outdoor gear, see Maintenance & Care.)
Broken Pull/Tab
Time: 1–5 min | Difficulty: Very easy
Temporary: keyring, paracord, or loop.
Permanent: replace the entire slider (most pulls aren’t designed for a standalone swap)—see Sliders.
Success: secure grip, no finger slip—glove-friendly if desired.
Bent or Missing Teeth
Time: 5–30 min (or replacement) | Difficulty: Moderate–Advanced
Metal teeth: if simply bent (not cracked at base), re-form once (at most 1–2 careful bends) with pliers; test.
Plastic/coil: missing or broken teeth → full zipper replacement. Order continuous chain to cut an exact length.
Success: slider passes repaired metal tooth without catching; plastic/coil → replace.
Jacket Bottom Fails (Separating Zipper)
Time: 30–60 min | Difficulty: Advanced
Inspect insertion pin and retainer box. If damaged, replace the specific bottom hardware or the entire zipper.
Coil note: trim a few coils to create fit, use brief, indirect heat to shape (no scorching), test fit, then secure with fabric-safe adhesive or compatible plastic cement (prefer over generic super glue), and crimp as specified.
Consider pro help for metal or heavy jackets.
Success: pin seats smoothly; bottom locks; clean zip-up. (See How to Read Zipper Spec Sheets if you’re sourcing replacements.)
Bag/Backpack: Zipper Off the Track (No Tools)
Time: 5–10 min | Difficulty: Easy
Use the fork method: slider straddles two tines (holds it open), feed both tapes evenly from the bottom until first teeth seat, slide off the fork and zip.
Add a temporary stop (stitches/safety pin) until you can install a proper stop. (More on Common Design Mistakes that cause run-offs.)
Pants/Skirt Fly Splits or Slides Down
Time: 5–10 min | Difficulty: Easy
Pinch slider slightly as above; if it still slips, replace the slider (often #3 or #5, auto-lock preferred).
If design lacks retention, add a discreet hook-and-eye at the waistband. (Choosing parts? Start with Choosing the Right Zipper.)
Replace a Slider (No Sewing)
Time: 10–15 min | Difficulty: Easy
Remove the top stop only → slide off old slider → orient and install matched new slider → crimp new top stop.
Success: smooth travel; stop prevents run-off. (Match type/size via the Gauge Chart.)
Replace Entire Zipper (When Required)
Time: 1–3 hours | Difficulty: Advanced (sewing)
Replace when plastic/coil teeth are missing, bottom hardware is destroyed, tape is melted/torn, or multiple teeth are gone. Use a seam ripper, mark alignment, and stitch in a matched new zipper (Continuous Chain helps custom lengths).
If you’d rather outsource, expect ~$10–$20 for simple items up to ~$75–$100 for complex garments. See Contact Us or Request a Quote for guidance.
When to Repair vs Replace (Decision Table)
Symptom | Quick Fix Works? | Replace Slider? | Replace Zipper? |
Splits open after zipping | Often (pinch slider tighter) | Yes, if recurring or slider damaged | Rarely needed |
Off track on one side | Yes (rethread + add new stop) | Sometimes, if slider worn | Rarely needed |
Off track on both sides | Yes (reinstall slider + stop) | Sometimes, check slider condition | Only if teeth damaged during removal |
Stuck on fabric/debris | Yes (clean and lubricate) | No | No |
Stuck from corrosion | Usually (clean and lubricate) | No unless corroded | Only if teeth are corroded beyond cleaning |
Missing plastic teeth | No localized fix available | No | Yes—replacement required |
Bent metal teeth | Sometimes (carefully rebend) | No | If teeth crack at base or multiple teeth affected |
Jacket bottom box cracked | No DIY fix for metal | No | Yesor professional hardware replacement |
Broken pull tab only | Yes (temporary loop or ring) | Yes, for permanent solution | No |
Coil burned/melted | No | No | Yes—no reliable repair |
Severe tape damage | No | No | Yes—tape integrity essential |
Slider Sizing Cheatsheet
Find the stamp on the slider back (#3/#5/#8/#10). If missing, measure closed tooth width in mm.
Size | Tooth Width | Common Uses |
#3 | ~3mm | Lightweight jackets, dresses, fine bags, pouches |
#5 | ~5mm | Most jackets, pants, medium bags, backpacks, standard garments |
#8 | ~8mm | Heavy jackets, large backpacks, boots, upholstery |
#10 | ~10mm | Tents, sleeping bags, heavy outdoor gear, large bags |
#12-#15 | 12-15mm | Marine canvas, industrial applications, oversized covers |
Always match: coil↔coil, molded↔molded, metal↔metal, and the same #.
Still unsure? Our team can confirm fit before you buy—send photos via Request a Quote. Also see FAQ and Resources.
Where to Get Quality Parts—Lenzip
Matched sliders, top/bottom stops, and continuous chain in coil, molded, and metal.
Minimums as low as 25 units (great for repair shops/facilities).
Application support if you’re unsure about sizing or compatibility.
Order or spec help: Request a Quote • Custom Zippers • Call (847) 368-9000.
Note: We don’t offer invisible zippers. (Explore alternatives in Zipper Types Explained.)
Safety & Fabric Care Notes
-Guard fabric with a card/leather scrap when using pliers.
-Prefer graphite/wax; soap/chapstick can attract grime (plan to re-clean).
-No petroleum oils on textiles/technical fabrics.
-Test any chemical/lube on a hidden area.
-Use brief, indirect heat on coil only; avoid scorching.
-Work in good light; keep tiny parts in a dish/magnetic tray.
(For longevity, see Maintenance & Care and How UV Impacts Lifespan.)
FAQs
Can you fix a zipper that won’t stay closed?
Yes—usually a worn slider. Lightly pinch the side plates; if it still slips, replace the slider with a matched size/type (Sliders).
How do I get a zipper back on track?
Remove the top stop, align both tapes, feed evenly into the slider, zip a few cm, then crimp a new top stop. (Parts in Teeth, Sliders & Parts Guide.)
Can missing teeth be repaired?
Metal: maybe, if only bent (one cautious re-bend). Plastic/coil: replace the zipper (order Continuous Chain).
How do I fix a zipper on a bag without tools?
Use the fork method to hold the slider, feed both tapes, zip, and add a temporary stop (stitches/pin) until you install a proper stop. (Avoid issues via Common Design Mistakes.)
How much does pro replacement cost?
~$10–$20 simple items to ~$75–$100+ for complex garments. Often, a $5–$15 slider solves it without full replacement. For help, see Contact Us or Request a Quote