Whether you’re framing a renovation zone, building negative-air containment, or dividing warehouse space, the zipper you choose can make or break the barrier. Done right, you get faster installs, clean seals, and doors that keep working after dozens (or hundreds) of passes. Done wrong…you’re re-taping at 3 a.m. and explaining leaks to an inspector. This guide covers the two zipper approaches (adhesive vs. sewn/welded), the specs that actually matter, how to install them without drama, and where to source custom or wholesale when kits fall short.
What Counts as a “Zipper for a Plastic Wall”?
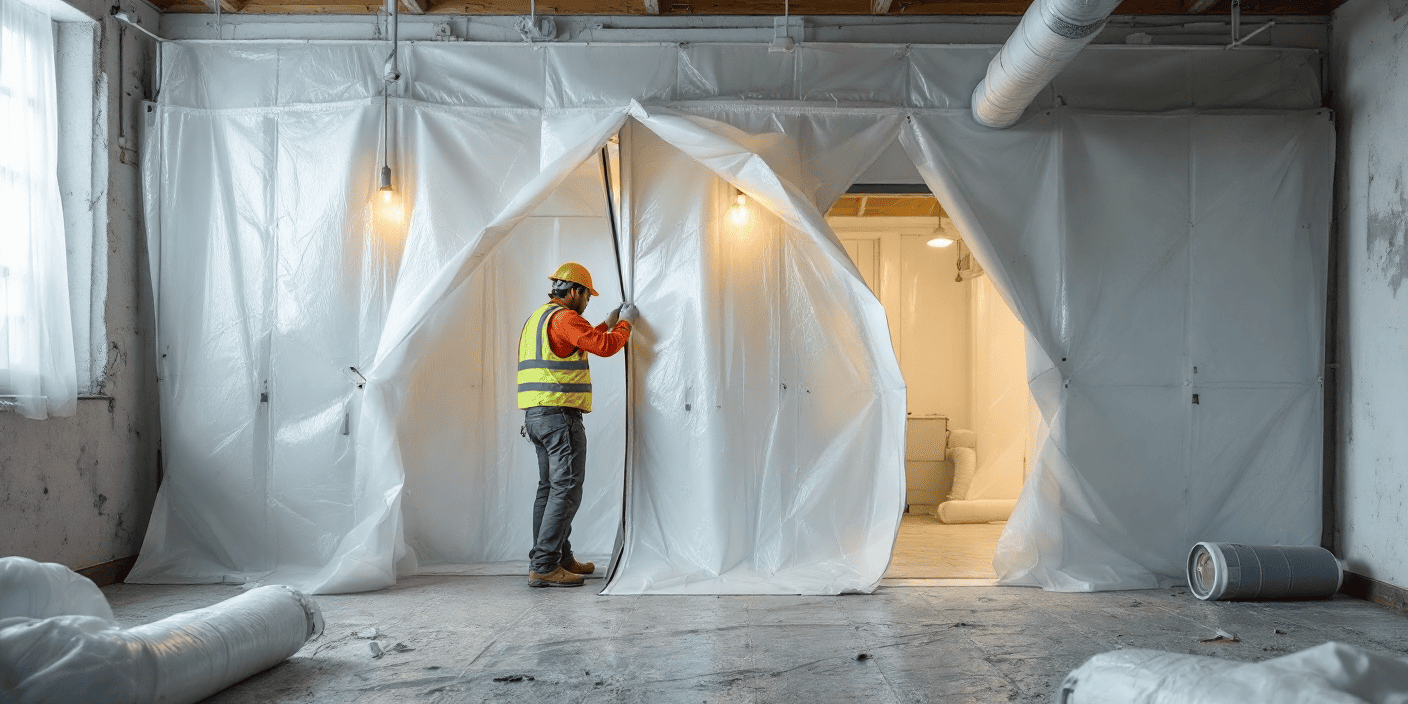
It’s simply an access system set into poly sheeting, greenhouse film, tarps, or vinyl curtains—so people and gear can move through without cutting a fresh slit each time. You’ll see them in remodel dust containment, abatement and infection control, soft-wall warehouse partitions, and greenhouse entries. For quick context on components and naming, bookmark the Zipper Anatomy and Zipper Glossary.
There are two families:
- Self-adhesive kits you peel, stick, cut, and zip—ideal for short-term containment.
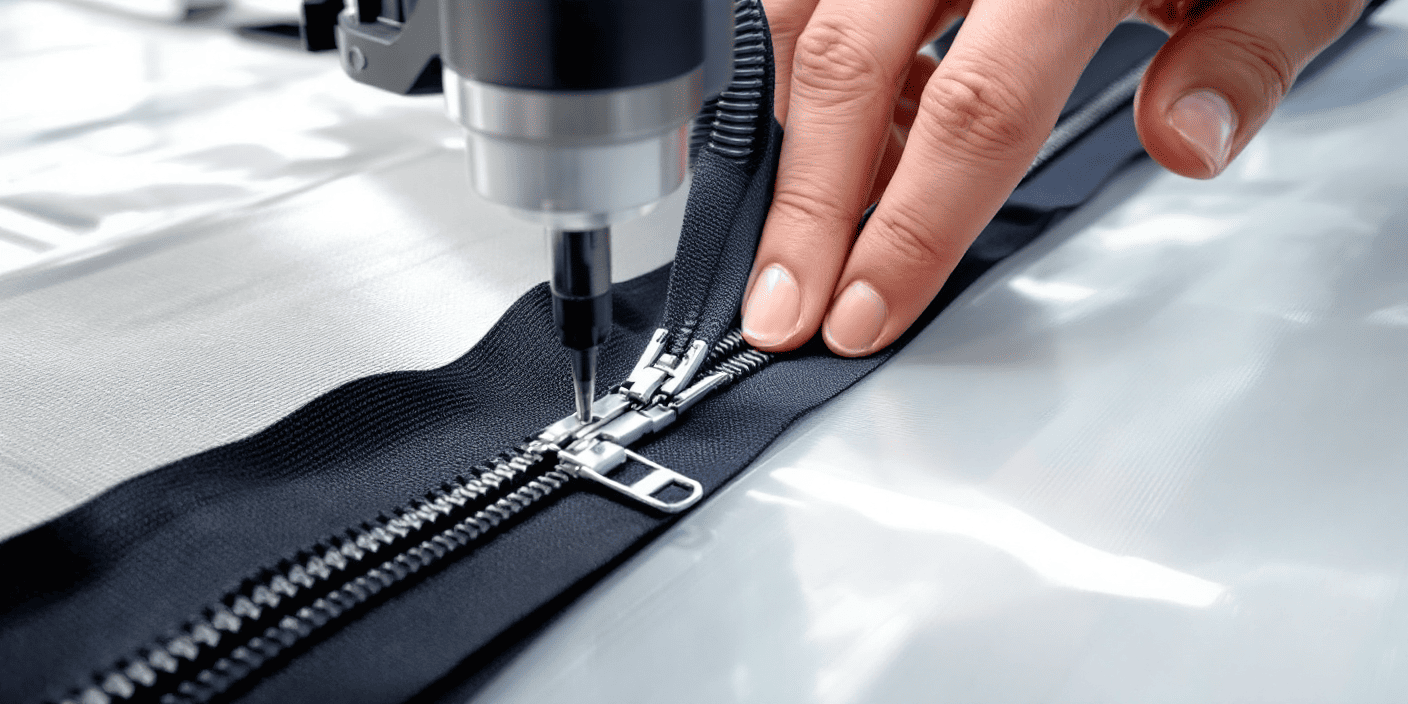
- Sewn or RF/heat-welded zippers integrated into curtains or reinforced panels for long-term, high-cycle use (see Integrating Zippers into RF-Welded or Heat-Sealed Seams).
Matching Type to Use-Case
For dust containment and renovation, speed and reliability matter most. Adhesive kits on 4–6 mil poly are standard, often with two zippers forming a roll-up U-door. If you’re new to spec’ing, skim Choosing the Right Zipper for Your Application and the Zipper Gauge & Chain Size Chart so you’re not under-sizing.
Abatement and infection control ratchet up the stakes. Double-zipper doors with overlap flaps help preserve negative pressure; heavier film and sturdier sliders reduce drift. For a deeper dive on performance expectations, see Zipper Testing Standards and How Zippers Are Tested for Strength, Corrosion, and Fatigue.
In warehousing and industrial curtains, durability and cycle count dominate. Sewn or welded-in zippers on heavy-gauge vinyl, typically in #8 or #10, keep high-traffic doors moving. If you’re planning complex openings, compare Continuous Chain vs. Finished Zippers and bookmark How to Read Zipper Spec Sheets for purchasing.
For greenhouses and outdoor enclosures, UV exposure, condensation, and temperature swings influence chain and slider choices. Start with Zippers in Harsh Chemical Environments, Zippers and Extreme Environments, and Zipper Coatings & Finishes.
Specs That Actually Move the Needle
Chain type. Coil bends cleanly around curves and can “self-heal” minor jams, which is helpful on soft films—just protect coil stitch lines from UV. Molded-tooth is stiffer and excels in grit, UV, and weather—often the better choice for abatement and industrial curtains. For a quick refresher, see Zipper Types Explained and Coil vs. Molded Zippers.
Gauge. As a rule of thumb: #5 for short-term containment doors, #8/#10 for high-load or high-cycle entries. If you’re on the fence, Zipper Engineering 101 and Guide to Zipper Teeth, Sliders, and Their Parts clarify trade-offs.
Sliders and pulls. Autolock sliders prevent drift under vibration or negative air. Two-way sliders simplify access from both sides. For cold sites and PPE, glove-friendly rings/cord pulls are worth it. If failures are creeping in, skim Why Zipper Failure Happens first.
Tape and attachment. Adhesive kits rely on PSA width and surface prep; fabricated curtains use polyester tape for sewing or weldable PVC tape for RF. If your barrier will live outdoors or face chemicals, review Zipper Materials & Finishes.
Installation Without Headaches (Field-Proven Flow)
Most adhesive kits ship in 7–8 ft lengths—fine for standard doors with a little floor overlap. For taller bays (10–12 ft) or wide equipment access, order Continuous Zippers and cut to length; see The Best Zippers by the Yard for setup notes.
- Prep the surface. Clean/dry poly; warm materials in cold weather.
- Apply the first zipper from top to bottom, pressing firmly as you go.
- Unzip and cut between tapes (leave a sliver of clearance to avoid snags).
- Add the second zipper parallel for a U-door; roll and clip the flap for wide loads.
- Reinforce edges with containment tape; add an overlap flap behind the door for negative air.
- Cycle and check under airflow for leaks or whistle points.
If you’re fabricating curtains instead, this primer helps: Integrating Zippers into RF-Welded or Heat-Sealed Seams.
Water-Resistant vs. Waterproof (Set Expectations Right)
Coated tapes and reversed coil shed rain and splash, but they’re not submersion-proof. Pair coated tape with zipper garages or storm flaps for day-to-day weather. For truly waterproof enclosures, you need welded construction and dry-bag logic (don’t over-promise). For sector-specific considerations, see Fabric Structures and Tents.
Troubleshooting (Fast Fixes)
Adhesive lift usually traces back to surface prep or cold installs—re-roll with pressure, reinforce edges, or re-apply warm. Recurring jams suggest a gauge/slider mismatch or debris; jump from #5 to #8 and review Zipper Maintenance & Care. Losing pressure? Check perimeter tape first, then add an overlap flap. If chain starts separating, it’s time to replace—Common Zipper Design Mistakes is a good post-mortem.
Design a Plastic-Wall Zipper Stack
We’ll help you lock chain, gauge (#5/#8/#10), tape (weldable/PSA), slider/pull, and length—then ship samples fast. Start with Custom Zippers, browse Sliders, check Continuous Zippers, or go straight to Request a Quote — or call us today at (847) 368-9000.
Related reads (smart internal links to keep readers moving)
- Spec fundamentals: Zipper Engineering 101, How to Read Zipper Spec Sheets
- Performance & testing: Zipper Testing Standards, How Zippers Are Tested…
- Environments: Zippers and Extreme Environments, Zippers in Harsh Chemical Environments
- Buying choices: Continuous Chain vs. Finished Zippers, How to Buy Zippers in Bulk